
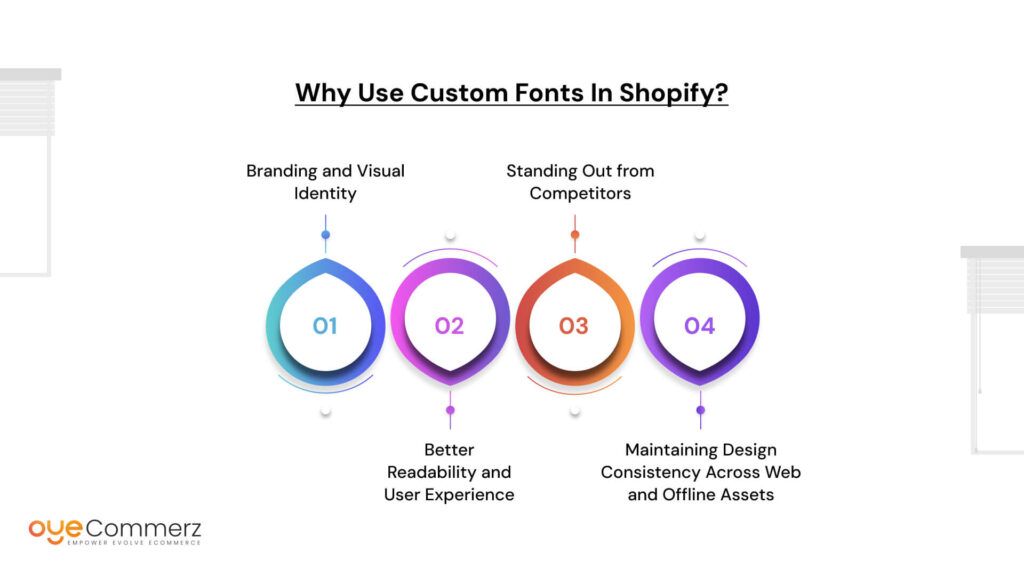
1. Branding and Visual Identity
Fonts are more than just text styling they’re a visual extension of your brand. Just like your logo or color scheme, the right typography helps reinforce your brand’s tone and personality. Whether your brand is elegant, playful, modern, or classic, custom fonts allow you to communicate that message consistently across your store.
2. Better Readability and User Experience
Not all fonts are created equal when it comes to readability. Custom fonts let you choose typography that suits your audience and product type, ensuring that your content is easy to read on all devices. A well-chosen font can guide the user’s eye naturally through your site, improving engagement and conversion rates.
3. Standing Out from Competitors
Shopify’s default fonts are widely used across many stores, which can lead to a generic look. By using custom fonts, you instantly set your store apart. It gives your site a unique character that makes it more memorable to visitors especially in competitive niches where visual distinction matters.
4. Maintaining Design Consistency Across Web and Offline Assets
If your brand already uses specific fonts in printed materials, packaging, or social media content, using the same font on your Shopify store ensures a seamless experience for your audience. This consistency helps build trust and brand recognition across all touchpoints online and offline.
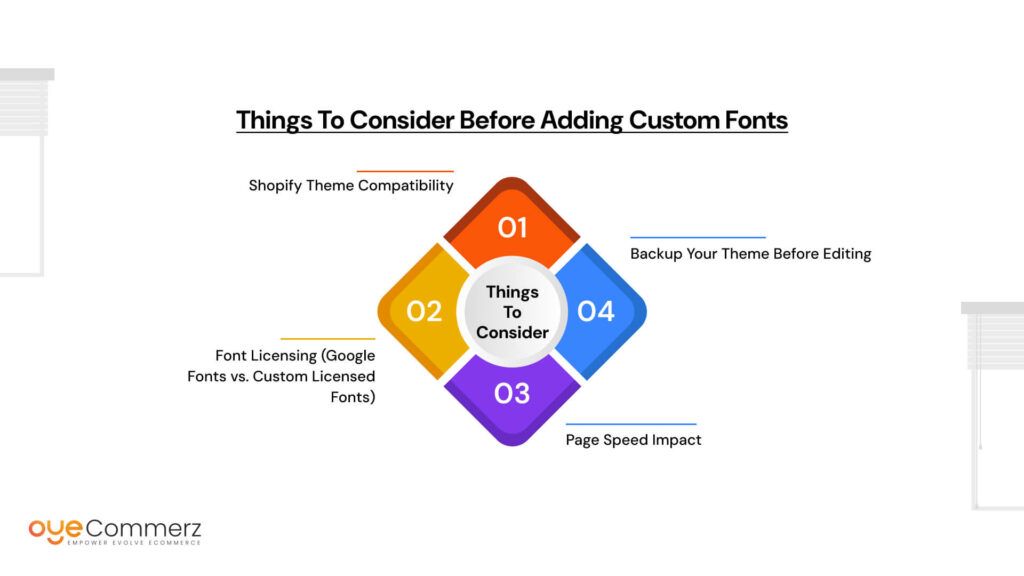
1. Shopify Theme Compatibility
Not all Shopify themes are built the same. Some may have structured CSS or Liquid files that make it easier to implement custom fonts, while others may require deeper code edits. Before adding a font, check your theme documentation or test on a duplicate theme to avoid breaking your design layout.
2. Font Licensing (Google Fonts vs. Custom Licensed Fonts)
Fonts come with different usage rights. Google Fonts are free and open-source, making them easy to integrate. However, if you’re using a custom licensed font, make sure you have the right to embed it on your website. Using fonts without a proper license could lead to legal issues.
3. Page Speed Impact
Custom fonts, especially large font families or multiple variants (like bold, italic, etc.), can increase your site’s load time. Slow pages affect SEO and user experience. To keep your store fast, only load the font weights and styles you actually use.
4. Backup Your Theme Before Editing
Before making any code changes, always duplicate your live theme. This acts as a safety net if something goes wrong while adding the font, you can easily revert to the original version without disrupting your store.
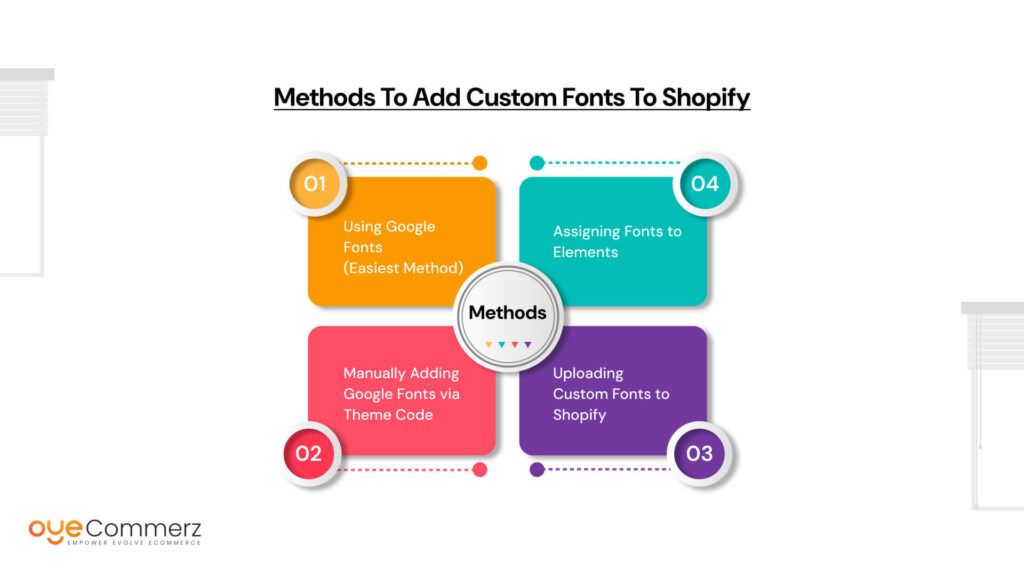
1. Using Google Fonts (Easiest Method)
If you’re not comfortable editing code, using a Shopify app is the quickest and safest way to add Google Fonts to your store. Apps like Fontify – Google & Custom Fonts or Use Google Fonts make it easy to apply new fonts without touching your theme files.
Step-by-Step Guide (Using Fontify as an Example):
- Install the Fontify App
Visit the Shopify App Store, search for “Fontify,” and install it on your store. - Select Google Fonts
Open the app and choose the Google Fonts option. - Choose Your Font
Browse or search for the font you want to use. Google Fonts offers a large library of free, web-safe fonts. - Apply the Font to Specific Elements
Assign the font to various elements on your store, such as headings, body text, product titles, and more. - Save and Publish
Once you’re satisfied with the settings, save your changes. The font will be automatically applied to your live store.
Pros
- No coding required, ideal for beginners.
- Easy to assign fonts to specific areas of your store.
- Supports both Google and custom fonts (depending on the app).
- Fonts can be previewed and adjusted easily within the app.
Cons
- Limited control over advanced styling options.
- May slightly affect page speed depending on how fonts are loaded.
- Some apps may require a paid plan to unlock all features, such as uploading custom fonts.
2. Manually Adding Google Fonts via Theme Code
If you prefer more control over your Shopify store’s typography and want to avoid using third-party apps, you can manually add Google Fonts by editing your theme code. This method ensures better performance and cleaner integration, especially useful for custom or heavily modified themes.
Step 1: Choose and Get the Embed Link from Google Fonts
- Visit Google Fonts.
- Browse and select the font you want to use.
- Choose the styles (like Regular, Bold, Italic) you need.
- Once selected, Google Fonts will generate a <link> tag under the “Embed” tab.
- Copy the link tag. It will look something like this:
html
<link href=”https://fonts.googleapis.com/css2?family=Roboto:wght@400;700&display=swap” rel=”stylesheet”>
Step 2: Add the Embed Link to theme.liquid
- From your Shopify Admin, go to Online Store > Themes.
- Click “Actions” > “Edit code” on your published or duplicate theme.
- Open the theme.liquid file, found under the Layout folder.
- Paste the Google Fonts <link> tag just above the </head> tag.
Example:
liquid
<head>
{{ ‘theme.css’ | asset_url | stylesheet_tag }}
<link href=”https://fonts.googleapis.com/css2?family=Roboto:wght@400;700&display=swap” rel=”stylesheet”>
</head>
Step 3: Update the CSS to Apply the Font
Now that the font is loaded into your theme, you need to tell your CSS to use it.
- Locate your main stylesheet. This is usually named base.css, theme.css, or styles.css under the Assets folder.
- Open the file and add your font rule at the top or in a relevant section.
Example:
css
body {
font-family: ‘Roboto’, sans-serif;
}
h1, h2, h3 {
font-family: ‘Roboto’, sans-serif;
}
You can replace ‘Roboto’ with the name of any font you’ve embedded from Google Fonts.
Manually adding Google Fonts gives you better performance and more control over how and where your fonts are used. It’s a reliable method for those familiar with editing theme files or working on Shopify theme development.
3. Uploading Custom Fonts to Shopify
If you have a brand-specific font that’s not available on Google Fonts, you can still use it on your Shopify store by uploading it manually and applying it via your theme’s CSS. This method gives you full control over your typography and is a common part of custom Shopify theme development.
Supported Font Formats
Before you begin, make sure your font files are in a web-safe format. Shopify supports:
- .woff (Web Open Font Format)
- .woff2 (More compressed, preferred)
- .ttf (TrueType Font)
- .otf (OpenType Font less commonly recommended)
For best performance, use .woff or .woff2 formats, as they are optimized for web usage.
How to Upload Font Files in Shopify
- Go to Settings > Files
From your Shopify Admin, click Settings, then select Files. - Upload Your Font Files
Upload your font file (e.g., mycustomfont.woff2). Once uploaded, Shopify will generate a file URL. - Copy the URL
You’ll need this URL to reference the font in your CSS.
Modify Your Theme’s CSS
- Go to Online Store > Themes, then click Actions > Edit Code on your current theme.
- Open the main CSS file, typically named base.css, theme.css, or similar (found in the Assets folder).
- Add the @font-face rule at the top of the file or in a relevant section.
Example Code Snippet
Here’s how to declare your custom font:
css
@font-face {
font-family: ‘MyCustomFont’;
src: url(‘{{ “mycustomfont.woff2” | asset_url }}’) format(‘woff2’);
font-weight: normal;
font-style: normal;
}
body {
font-family: ‘MyCustomFont’, sans-serif;
}
Make sure the file name (mycustomfont.woff2) matches exactly with the file you uploaded. This tells Shopify to load and use your custom font for all body text—or any elements you define.
Final Tip
If you’re uploading multiple weights (e.g., light, regular, bold), you’ll need to define a separate @font-face rule for each with the correct font-weight.
4. Assigning Fonts to Elements
Once you’ve loaded a custom or Google Font into your Shopify theme either via an app, embedded link, or uploaded font file you need to assign that font to specific elements on your store. This is done by editing your theme’s CSS (or SCSS) file.
Where to Edit Fonts in Shopify
- Go to Online Store > Themes.
- Click Actions > Edit Code.
- Open the main stylesheet usually named base.css, theme.css, or style.scss.liquid in the Assets folder.
- Add or modify CSS rules to apply the font to your desired elements.
Example: Assigning Fonts to Common Elements
Here’s how you can apply a custom font (e.g., ‘MyCustomFont’) to various parts of your store:
css
/* Apply to overall body text */
body {
font-family: ‘MyCustomFont’, sans-serif;
}
/* Headings */
h1, h2, h3, h4, h5, h6 {
font-family: ‘MyCustomFont’, sans-serif;
}
/* Product titles */
.product-title {
font-family: ‘MyCustomFont’, sans-serif;
}
/* Navigation links */
.site-nav__link, .menu__item {
font-family: ‘MyCustomFont’, sans-serif;
}
Replace ‘MyCustomFont’ with the name of your actual font (as declared in your @font-face rule or Google Fonts link).
Targeting Specific Elements
You can go further by customizing fonts on specific sections like:
- Homepage banners
- Button text
- Footer headings
- Cart items
Just inspect those elements using your browser’s developer tools (right-click → Inspect) to find the relevant CSS class or ID.
Example:
css
.banner__heading {
font-family: ‘MyCustomFont’, sans-serif;
}
Tip
Always keep a fallback font (like sans-serif or serif) at the end of your font-family declaration to ensure text displays properly if the custom font fails to load.
Typography plays a critical role in the overall user experience and visual appeal of your Shopify store. Beyond adding custom fonts, it’s important to follow a few key best practices to ensure your design is not only attractive but also fast-loading, accessible, and mobile-friendly.
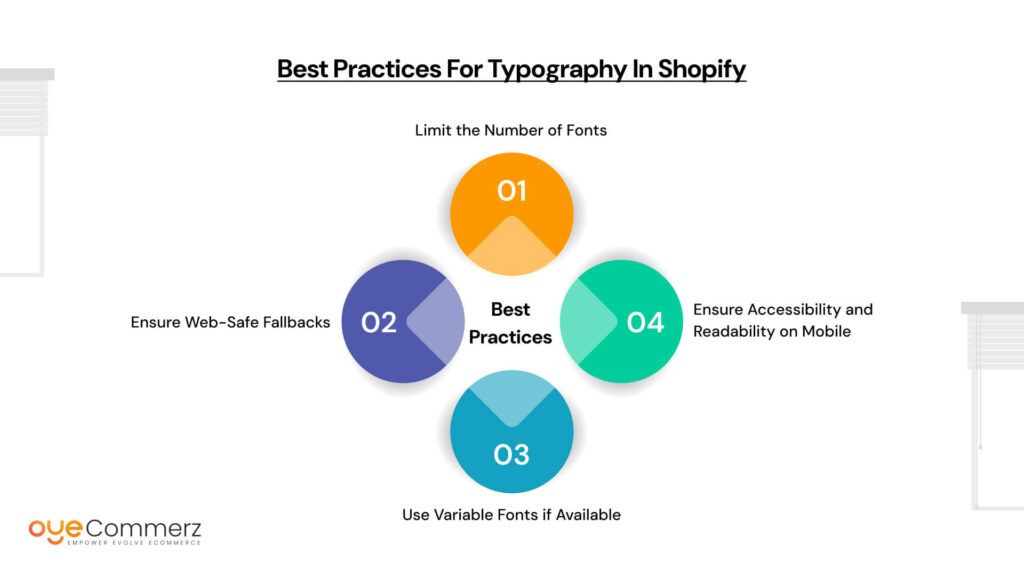
1. Limit the Number of Fonts
Why it matters:
Each additional font file your store loads adds to your website’s loading time. This can negatively impact performance, particularly on mobile devices or slower internet connections.
Best practice:
- Stick to one or two fonts maximum one for headings and another for body text.
- Use different weights (e.g., regular, bold) instead of adding entirely different font families.
- If using multiple weights or styles, make sure they’re necessary for your design.
Example:
Instead of loading three different fonts for headings, paragraphs, and buttons, use one versatile typeface like Roboto or Inter that looks clean across all elements.
2. Ensure Web-Safe Fallbacks
Why it matters:
If a custom font fails to load for example, due to a network issue or browser incompatibility a fallback font ensures your site’s text remains readable and the layout stays intact.
Best practice:
- Always include at least one web-safe font (like Arial, Helvetica, Georgia, or Times New Roman) at the end of your font-family CSS declarations.
Example:
css
body {
font-family: ‘MyCustomFont’, Arial, sans-serif;
}
This ensures that if ‘MyCustomFont’ fails, the browser will display Arial, and if that also fails, a generic sans-serif font will be used.
3. Use Variable Fonts if Available
Why it matters:
Variable fonts are a newer font technology that combines multiple font styles and weights into a single file. This improves performance while offering great design flexibility.
Best practice:
- When choosing fonts (especially from Google Fonts), prefer variable font versions when available.
- They reduce the number of HTTP requests and the overall font file size.
Example:
Instead of loading Roboto-Regular, Roboto-Bold, and Roboto-Italic as separate files, you can load one Roboto Variable Font that includes all styles in a single file.
4. Ensure Accessibility and Readability on Mobile
Why it matters:
More than half of eCommerce traffic comes from mobile devices. Poor typography such as small font sizes, low contrast, or overly decorative fonts can make your store hard to read, driving users away.
Best practice:
- Use at least 16px font size for body text.
- Maintain sufficient color contrast between text and background (check using tools like WebAIM Contrast Checker).
- Avoid overly cursive or script fonts for large blocks of text.
- Test font appearance on both iOS and Android devices.
Additional Tip:
Use media queries in your CSS to adjust font sizes for different screen sizes:
css
body {
font-size: 16px;
}
@media (max-width: 768px) {
body {
font-size: 15px;
}
}
By following these typography best practices, you’ll create a visually appealing, high-performing, and user-friendly Shopify store that not only looks good but works well for everyone, on every device.