Shopify app development enables businesses to extend store functionality, automate tasks, and enhance the customer experience. With millions of merchants using Shopify, custom apps provide tailored solutions that go beyond built-in features. Whether it’s automating order management, integrating third-party tools, or optimizing store performance, Shopify apps play a crucial role in eCommerce growth.
In this tutorial, we’ll walk you through building a basic Shopify app development tutorial from scratch. You’ll learn how to set up your development environment, connect your app to Shopify’s API, add functionality using React and Node.js, and deploy your app for real-world use. By the end, you’ll have a working app that you can customize and even monetize. Let’s get started!
Table of Contents
ToggleUnderstanding Shopify App Development
Shopify apps allow merchants to enhance store functionality, automate processes, and integrate third-party services. Before building your first app, it’s essential to understand the different types of Shopify apps, the technologies used, and how to gain API access.
Types of Shopify Apps
- Public Apps – Available on the Shopify App Store and can be used by multiple merchants.
- Custom Apps – Designed for a single Shopify store, built for specific business needs, and not listed on the App Store.
- Private Apps (Deprecated) – Older method for store-specific apps, replaced by Custom Apps.
Key Technologies Used
To develop a Shopify app, you’ll work with:
- Node.js & Express.js – For backend server and API requests
- React & Shopify Polaris – For building a dynamic, user-friendly UI
- Shopify API (REST & GraphQL) – For retrieving and managing store data
- Shopify CLI – To speed up development and manage app installation
Shopify Partner Program & API Access
To develop and test Shopify apps, you need a Shopify Partner Account. This grants access to the Shopify Admin API, Storefront API, and various development tools. After creating an account, you can set up a development store to test your app before deployment.
Setting Up Your Development Environment
Before building your Shopify app, you need to configure your development environment with the necessary tools and dependencies. This section outlines the key prerequisites and installation steps.
Prerequisites
To develop a Shopify app, ensure you have the following:
- Node.js & npm – Required for running JavaScript-based backend services. Install from the Node.js official website.
- Shopify Partner Account – Sign up at Shopify Partners to access Shopify’s development tools and API.
- Ngrok – A tunneling tool that allows your local app to be accessible online. Download from ngrok.com.
- VS Code or Preferred IDE – A code editor for writing and managing your app’s code.
Installing Shopify CLI
Shopify CLI simplifies app development by automating setup and deployment tasks. To install it, run the following command in your terminal:
npm install -g @shopify/cli @shopify/theme
Once installed, verify the installation by checking the version:
shopify version
This confirms that Shopify CLI is correctly set up and ready for use.
Creating Your First Shopify App
Once your development environment is set up, the next step is to create a Shopify app using Shopify CLI. This section covers how to generate a new app, understand its folder structure, and configure environment variables.
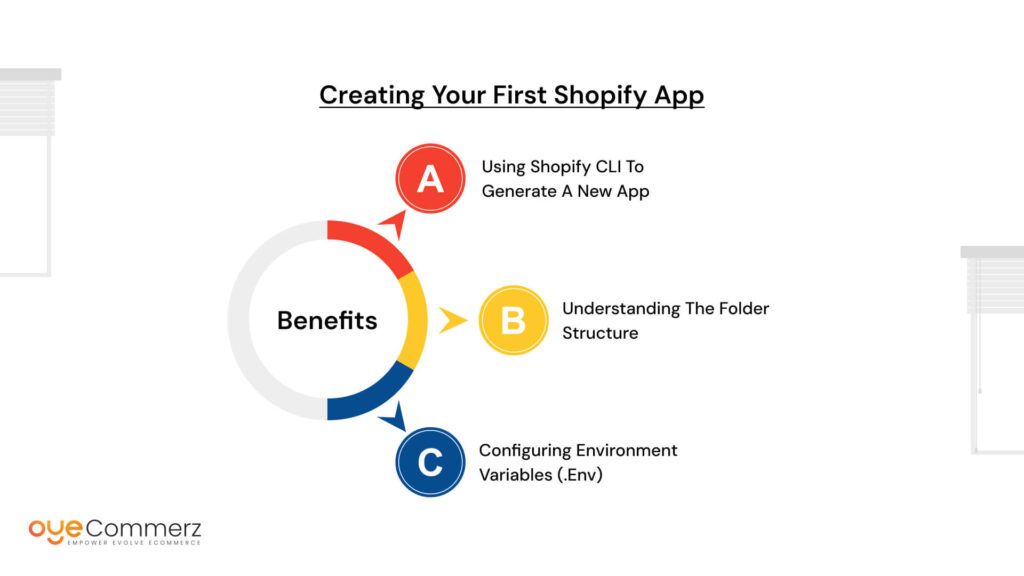
1. Using Shopify CLI to Generate a New App
To create a new Shopify app, open your terminal and run the following command:
shopify app create node –name=my-first-shopify-app
This command initializes a new Shopify app using Node.js. After the process is complete, navigate to the app directory:
cd my-first-shopify-app
2. Understanding the Folder Structure
Once the app is generated, it includes several key files and directories:
- pages/ – Contains frontend pages built with React
- server.js – Handles the backend logic and API requests
- shopify.config.js – Configuration file for Shopify app settings
- .env – Stores environment variables such as API keys
- package.json – Lists dependencies and scripts for the app
3. Configuring Environment Variables (.env)
Before running the app, configure the .env file with the required Shopify API credentials. Open the file and add:
SHOPIFY_API_KEY=your-api-key
SHOPIFY_API_SECRET=your-api-secret
SHOPIFY_APP_URL=https://your-ngrok-url
Replace your-api-key and your-api-secret with the values from your Shopify Partner dashboard. The SHOPIFY_APP_URL should be the HTTPS URL provided by Ngrok.
With these configurations, your app is now set up and ready for development.
Connecting Your App to Shopify
After creating your Shopify app, the next step is to connect it to a Shopify store. This involves setting up a test store, installing the app, and handling authentication using OAuth.
1. Creating a New Shopify Store for Testing
Shopify requires every app to be installed on a store before it can function. To test your app, create a development store through the Shopify Partner Dashboard:
- Go to Shopify Partners and log in.
- Navigate to the Stores tab and click Add store.
- Select the Development store and enter your store details.
- Click Create store to finalize the setup.
This store will allow you to install and test your app without any subscription fees.
2. Installing Your App on a Development Store
To install your app, start the development server:
npm run dev
Shopify CLI will generate an installation URL. Open it in a browser and select your development store to complete the installation. Once installed, the app will appear in the Apps section of your Shopify admin dashboard.
3. Authenticating via OAuth
Shopify apps use OAuth 2.0 for authentication. When a store installs your app, it redirects the user to Shopify’s authentication page, where they approve necessary permissions. Shopify then returns an authorization code, which your app exchanges for an access token.
The OAuth flow is handled automatically by Shopify CLI, but in a manual setup, you would:
- Redirect the merchant to Shopify’s OAuth URL with your app’s credentials.
- Receive an authorization code after approval.
- Exchange the code for an access token.
With authentication in place, your app can securely interact with Shopify APIs.
Building App Functionality
Once your app is connected to Shopify, the next step is to add functionality using the Shopify Admin API. This section covers how to use the Shopify API, fetch store data, and implement a basic feature.
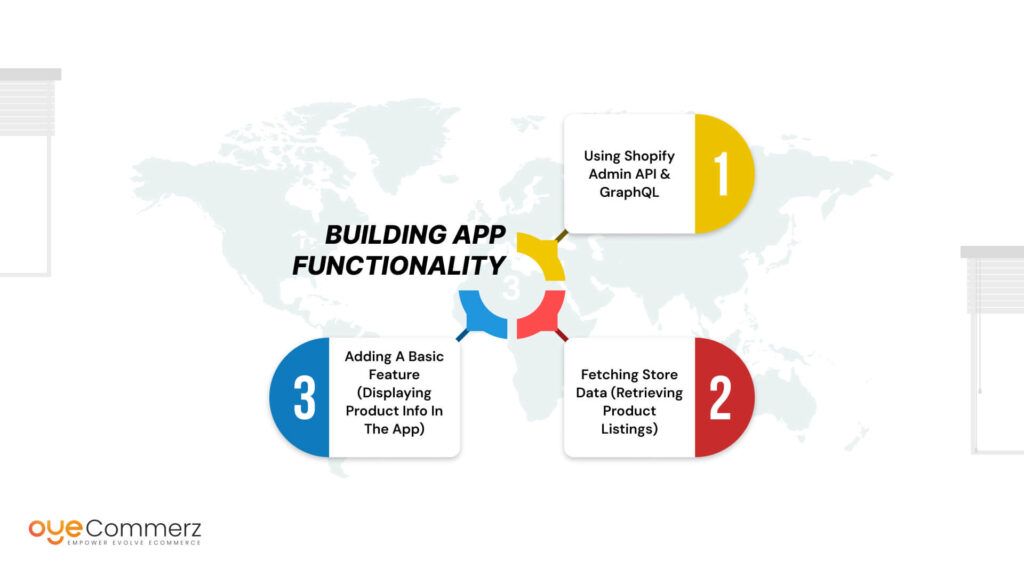
1. Using Shopify Admin API & GraphQL
Shopify provides two main APIs for app development:
- REST Admin API – Uses standard HTTP requests (GET, POST, PUT, DELETE) to interact with store data.
- GraphQL Admin API – A more efficient, flexible way to fetch only the required data.
To use the Shopify Admin API, ensure your app has the necessary API permissions set in your Shopify Partner Dashboard under App Setup > Admin API Scopes.
2. Fetching Store Data (Retrieving Product Listings)
To retrieve product data using the GraphQL Admin API, send a request from your backend:
import fetch from ‘node-fetch’;
const shopifyGraphQLUrl = `https://${shop}.myshopify.com/admin/api/2023-10/graphql.json`;
const accessToken = process.env.SHOPIFY_ACCESS_TOKEN;
const query = `
{
products(first: 5) {
edges {
node {
id
title
description
images(first: 1) {
edges {
node {
src
}
}
}
}
}
}
}
`;
async function fetchProducts() {
const response = await fetch(shopifyGraphQLUrl, {
method: ‘POST’,
headers: {
‘Content-Type’: ‘application/json’,
‘X-Shopify-Access-Token’: accessToken
},
body: JSON.stringify({ query })
});
const data = await response.json();
console.log(data);
}
fetchProducts();
This request fetches a list of the store’s first five products, including their titles, descriptions, and images.
3. Adding a Basic Feature (Displaying Product Info in the App)
To display the fetched product data inside the app’s UI, create a React component:
import { useEffect, useState } from “react”;
function ProductList() {
const [products, setProducts] = useState([]);
useEffect(() => {
fetch(“/api/products”)
.then((res) => res.json())
.then((data) => setProducts(data));
}, []);
return (
<div>
<h2>Product List</h2>
<ul>
{products.map((product) => (
<li key={product.id}>
<h3>{product.title}</h3>
<p>{product.description}</p>
<img src={product.images[0]?.src} alt={product.title} width=”100″ />
</li>
))}
</ul>
</div>
);
}
export default ProductList;
This component fetches product data from an API route and displays it inside the app’s interface. You can now extend this feature further, such as adding filters, search options, or editing capabilities.
Enhancing the User Interface
A well-designed user interface improves usability and enhances the overall experience of your Shopify app. Shopify provides Polaris, a React-based design system that ensures consistency across Shopify apps. This section covers how to use Polaris, create a simple dashboard, and add forms for user input.
1. Using Shopify Polaris for UI Design
To use Polaris in your app, install it via npm:
npm install @shopify/polaris @shopify/app-bridge-react
Import Polaris styles into your main file (e.g., App.js or index.js):
import “@shopify/polaris/build/esm/styles.css”;
Now, you can use Polaris components to build your UI.
2. Implementing a Simple Dashboard
A basic dashboard can display key store information, such as total products and recent orders. Here’s how to create one using Polaris:
javascript
CopyEdit
import { Page, Card, Layout, Text } from “@shopify/polaris”;
function Dashboard() {
return (
<Page title=”App Dashboard”>
<Layout>
<Layout.Section>
<Card title=”Store Overview” sectioned>
<Text variant=”bodyMd”>Total Products: 50</Text>
<Text variant=”bodyMd”>Recent Orders: 5</Text>
</Card>
</Layout.Section>
</Layout>
</Page>
);
}
export default Dashboard;
This component creates a dashboard page with a store overview section displaying product and order details.
3. Adding Forms and User Inputs
To allow merchants to interact with your app, such as adding product tags or updating settings, you can use Polaris form components:
import { useState, useCallback } from “react”;
import { Page, Form, FormLayout, TextField, Button, Card } from “@shopify/polaris”;
function Settings() {
const [shopName, setShopName] = useState(“”);
const handleChange = useCallback((value) => setShopName(value), []);
const handleSubmit = () => {
console.log(“Shop Name:”, shopName);
};
return (
<Page title=”Settings”>
<Card sectioned>
<Form onSubmit={handleSubmit}>
<FormLayout>
<TextField label=”Shop Name” value={shopName} onChange={handleChange} />
<Button submit primary>Save</Button>
</FormLayout>
</Form>
</Card>
</Page>
);
}
export default Settings;
This component creates a settings page with a form where merchants can enter and save their shop name.
By using Polaris, your Shopify app will have a clean, responsive, and Shopify-native interface.
Deploying Your App
Once your Shopify app is fully developed and tested, the next step is deployment. This involves choosing a hosting provider, setting up a live server, and ensuring the app is accessible to Shopify stores.
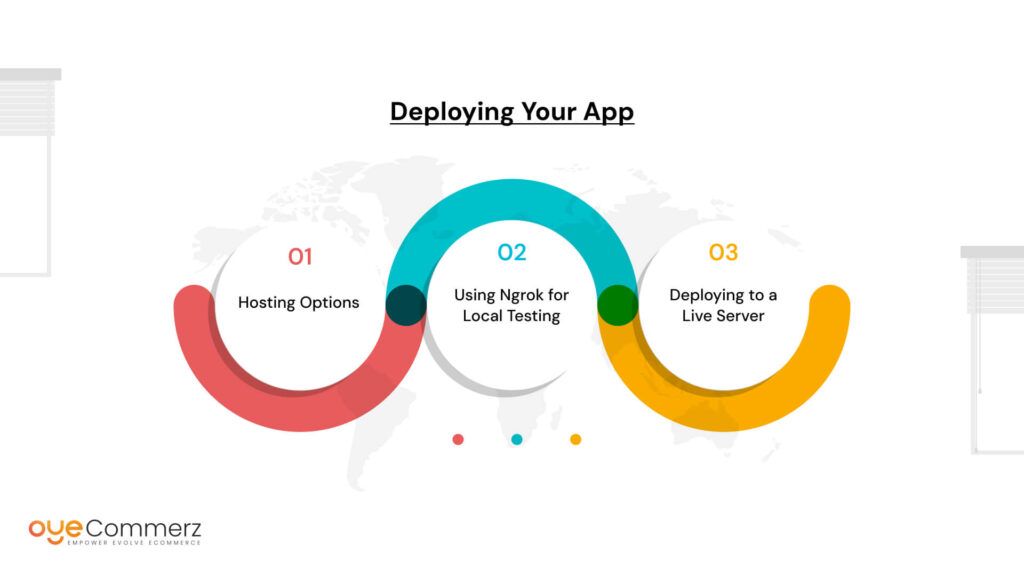
1. Hosting Options
Shopify apps require a reliable backend, so selecting the right hosting provider is crucial. Some popular hosting options include:
- Heroku – Easy to set up and manage, suitable for small to medium apps.
- Vercel – Ideal for frontend-heavy apps built with React, offers automatic deployment.
- DigitalOcean – Provides more control over server configurations, suitable for scaling.
- AWS / Google Cloud – Best for enterprise-level apps needing high scalability and security.
2. Using Ngrok for Local Testing
Before deploying to a live server, you need to test your app in a real Shopify environment. Ngrok allows you to expose your local app to the internet temporarily.
To start Ngrok, run
ngrok http 3000
This generates a public URL that you can update in your Shopify Partner Dashboard under App Setup > App URL for testing.
3. Deploying to a Live Server
Once your app is ready for production, follow these steps to deploy it to a hosting service:
Deploying to Heroku
- Install the Heroku CLI and log in:
heroku login - Create a new Heroku app:
heroku create my-shopify-app - Push your app to Heroku:
git push heroku main - Set environment variables on Heroku:
heroku config:set SHOPIFY_API_KEY=your-api-key
heroku config:set SHOPIFY_API_SECRET=your-api-secret
- Open the deployed app:
heroku open
Deploying to Vercel (for frontend apps)
- Install Vercel CLI
npm install -g vercel
- Deploy your app:
vercel - Follow the prompts to complete the deployment.
After deployment, update your app’s App URL in the Shopify Partner Dashboard with the new live URL. This ensures Shopify stores can install and use your app in a production environment.
Submitting to the Shopify App Store (Optional)
If you plan to make your app available to a wider audience, submitting it to the Shopify App Store is a great option. This section covers Shopify’s app requirements, listing strategies, and the approval process.
Shopify App Store Requirements
Before submitting your app, ensure it meets Shopify’s App Store requirements:
- Security & Performance – Your app must use HTTPS and follow Shopify’s API rate limits.
- Merchant Experience – The app should provide clear value, be easy to use, and have a well-designed UI (preferably using Polaris).
- Billing & Monetization – If your app is paid, it must integrate with Shopify Billing API for transactions.
- Data Privacy & Compliance – The app must comply with Shopify’s privacy policies and properly handle merchant/store data.
For full guidelines, check Shopify’s App Store Requirements.
App Listing and Monetization Strategies
When listing your app, focus on a compelling app description, high-quality visuals, and a clear value proposition. Shopify provides different monetization models:
- Free – Useful for gaining users and collecting feedback before monetization.
- One-time Payment – Best for simple tools with fixed functionality.
- Subscription-Based – Recurring revenue model (e.g., $10/month).
- Usage-Based Pricing – Charges based on how often the app is used.
Your listing should highlight:
- How the app benefits merchants
- Key features and functionalities
- Screenshots and demo videos
- Support and contact details
Testing and Approval Process
Before submitting, Shopify requires you to test your app thoroughly to ensure it works correctly. The process includes:
- Testing in a Development Store – Ensure all features work without errors.
- Reviewing Shopify’s App Checklist – Verify compliance with all guidelines.
- Submitting for Review – Go to your Shopify Partner Dashboard > Apps > Submit for Review.
- Shopify Review Process – Shopify’s team will test your app, check security compliance, and provide feedback (takes around 7-10 business days).
- Approval & Launch – Once approved, your app is published, and merchants can find it in the Shopify App Store.
After launch, focus on marketing and customer support to gain users and improve your app’s visibility in the store.
Ready to Build Your Shopify App? Let Oyecommerz Help!
Developing a Shopify app can be complex, but you don’t have to do it alone. At Oyecommerz, we specialize in custom Shopify app development, helping businesses create powerful, scalable solutions tailored to their needs. Whether you need a private app for your store or a public app for the Shopify App Store, our experts can handle everything from development to deployment.
Turn your idea into a fully functional Shopify app today!
Whether you’re looking to simplify your processes or enhance your store’s performance, integrating Magento with Shopify can help you achieve your business goals with ease.
Ready to Integrate with Shopify?
Let Us Help You
Conclusion
In this tutorial, we covered the fundamentals of Shopify app development, from setting up your development environment to deploying and optionally submitting your app to the Shopify App Store. You learned how to connect your app to Shopify, fetch store data using the Admin API, enhance the UI with Polaris, and deploy it on a live server. As a next step, consider expanding your app’s functionality by integrating Shopify webhooks for real-time updates, adding payment processing using the Shopify Billing API, and improving merchant interactions with advanced features. With continuous learning and iteration, you can build powerful, scalable Shopify apps that enhance eCommerce experiences.
Whether you’re looking to simplify your processes or enhance your store’s performance, integrating Magento with Shopify can help you achieve your business goals with ease.